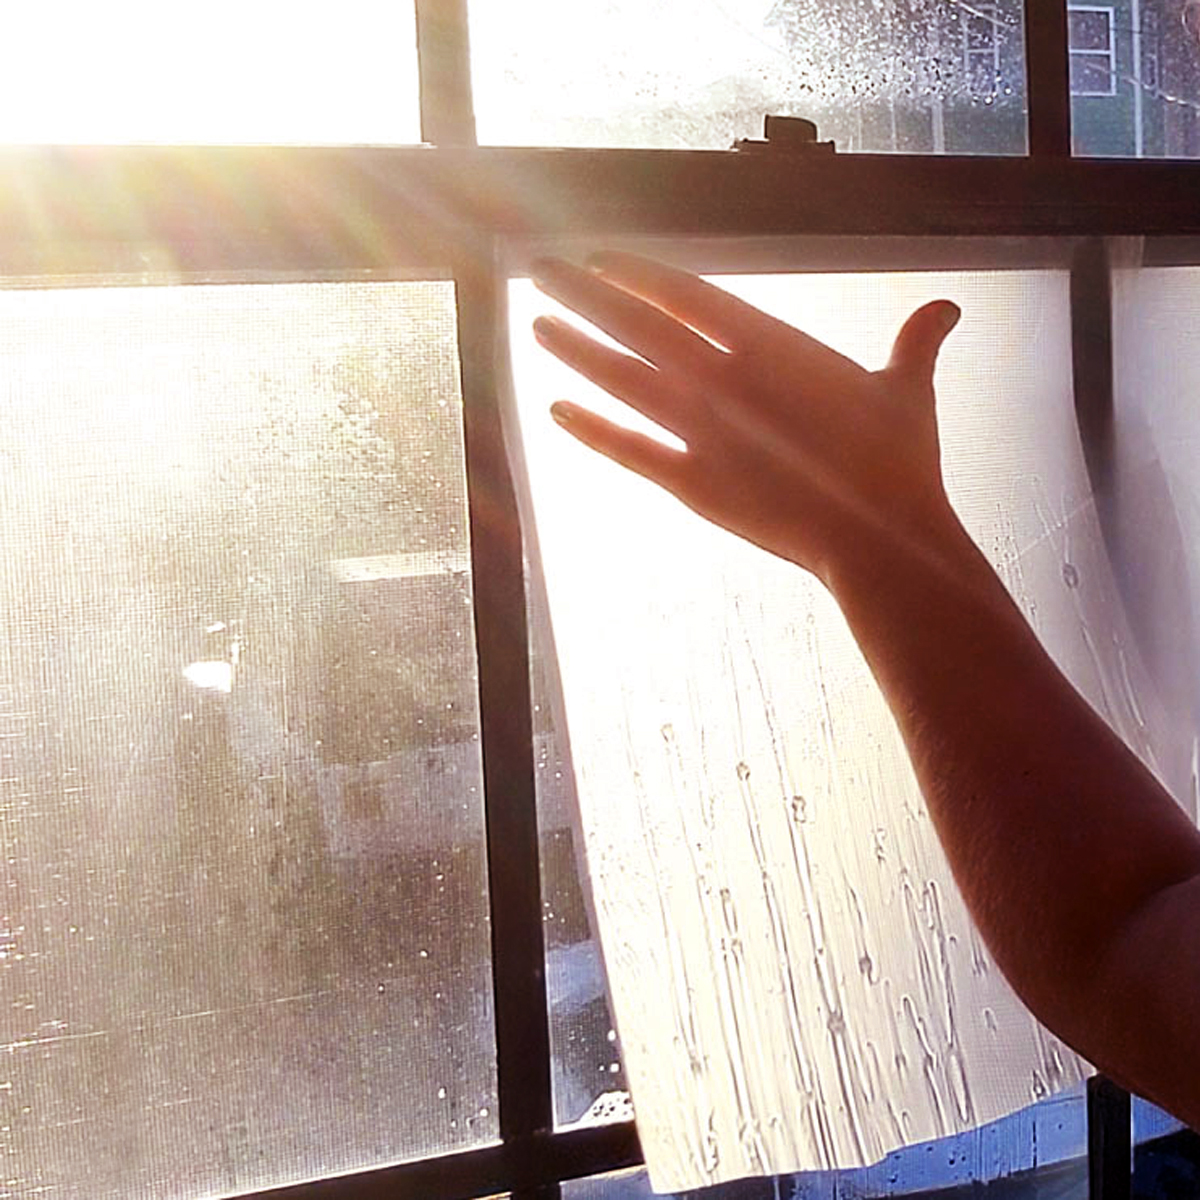
Decorative window film is an inexpensive way to add privacy and enhance your space. You may be intimidated by the idea of installing it, but it really is pretty easy with the proper tools. These detailed instructions on how to install decorative window film, as well as “our” video at the end of the article, will help you with your window film project.
TOOLS YOU’LL NEED
Your window film purchase includes complete installation instructions and a free squeegee. You’ll also need a utility knife, 32oz spray bottle, mild detergent (baby shampoo works well), and some paper towels. A tape measure and straight edge are also very helpful. Get a complete installation kit, available at windowfilmandmore.com. These kits include a spray bottle, utility knife, scraper, pre-measured mounting solution, and an additional squeegee. The cleaning and mounting solution which comes with the kit is the best reason for picking one up. Just add water to the pre-measured solution and you’ll be able to clean and install your film easily. It acts as a professional quality adhesive promoter, allowing your decorative window film to last for years. ProView Tintastic Application Solution works great, as well as their ammonia free glass cleaner. (We love you, PV!)
PREPARING YOUR WINDOW FILM FOR INSTALLATION
Add 6-8 drops of mild detergent, such as baby shampoo or dish detergent, to a 32oz spray bottle filled with water to create your installation mixture. (Or awesome PV Install solution! K, we’ll stop our crushing on ProView now) Next, use this mixture and a lint free cloth to clean your glass surface. Do not use typical household window cleaners containing ammonia. The chemical will break down the adhesive and ruin it over time. For best results, we recommend using ProView’s Tintastic Ammonia Free Glass Cleaner, and then their specially formulated Window Film Application Solution for install. (Last one, promise.)
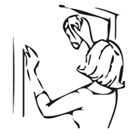
After cleaning the glass, lightly scrape it using a razor blade. This will help remove any stuck on debris. Be sure to test a small area first to make sure the glass won’t scratch. After scraping the window, use your solution and lint free cloth to wipe down the glass again. You can use a paper towel to remove excess solution along the edges. Your surface should be very clean and free of dirt, dust particles and silicone. Carefully measure your window and cut the film to size. You’ll want to oversize the film up to an inch on each side. This gives you some extra room for cutting during installation.
INSTALLING YOUR DECORATIVE WINDOW FILM – PART 1
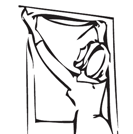
Once your film is trimmed, remove the release liner. Be sure to spray the exposed adhesive as you remove the liner. This ensures the film will not stick to itself, and that it is completely covered with the installation solution. Also make sure to apply a generous amount of solution to the glass. This prevents the film from adhering to the glass immediately, allowing more time to properly position the film.
TRICKS FOR REMOVING THE RELEASE LINER
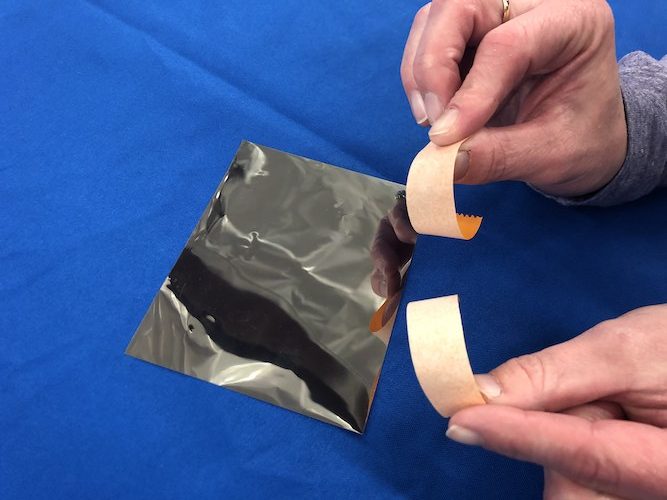
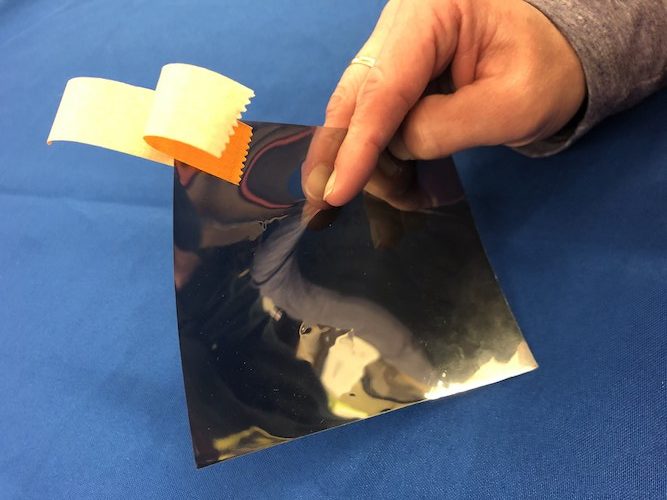
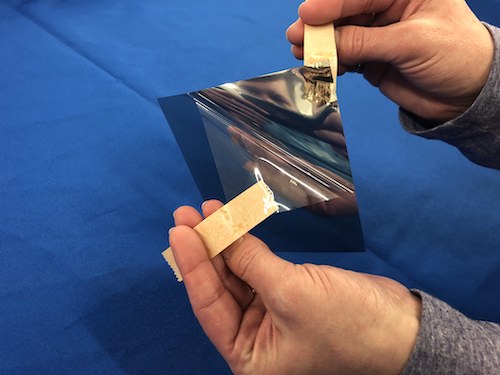
1) Use two pieces of scotch tape, sticking one on each side of the film at one of the corners. Then pull the two pieces of tape apart and the liner should separate from the film.
2) Place a small corner of the film between your teeth and gently grind your teeth together. The grinding combined with moisture can help expose the liner. Not best method if you’re worried about cooties, but it works!
3) Use a thin or sharp object, such as your finger nail, to slide between the two layers and pull them apart. You can use the utility blade, but be very careful not to cut yourself. Blood is not a good look on your window film project.

INSTALLING YOUR DECORATIVE WINDOW FILM – PART 2
Place the wet film onto the clean, wet, glass surface. Be sure the wet adhesive side is against the glass. There should be no dry spots on the film prior to placing it on the glass. Use the plastic squeegee to remove any air bubbles and excess solution. Work from the center out towards the edges. Apply enough pressure to remove the majority of water and solution. The film should be flat and smooth, with no remaining air bubbles or excess liquid. Textured film, such as stained glass or etched window film may require additional attention and pressure.
FINAL TRIMMING OF WINDOW FILM
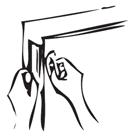
Trim any excess film from the edges of your window. It’s best to cut in one continuous movement. A ruler or straight edge will help with this. Use paper towels to clean any excess water that has come out at the edges. About a 1/16″ of exposed glass around the perimeter of the window is normal. This allows any remaining water to be pushed out. It may take a few days for the film to completely dry and for the adhesive to cure. Do not attempt to move or clean the film during this time. It may appear milky or have some general fogging for up to a week. This varies depending on the amount and type of solution used to install your film.
MAINTAINING YOUR DECORATIVE WINDOW FILM
Decorative window film is virtually maintenance free. (Sweet!) To ensure your film lasts and maintains it’s appearance, check out our upcoming article on proper maintenance and cleaning. We’ll also be adding an article on how to remove your window film. You can also contact us with any questions or concerns.
For more help, check out these helpful videos we stole from windowfilmandmore.com! (Lol jk, they let us use them. They’re good friends of ours.)

